 Save
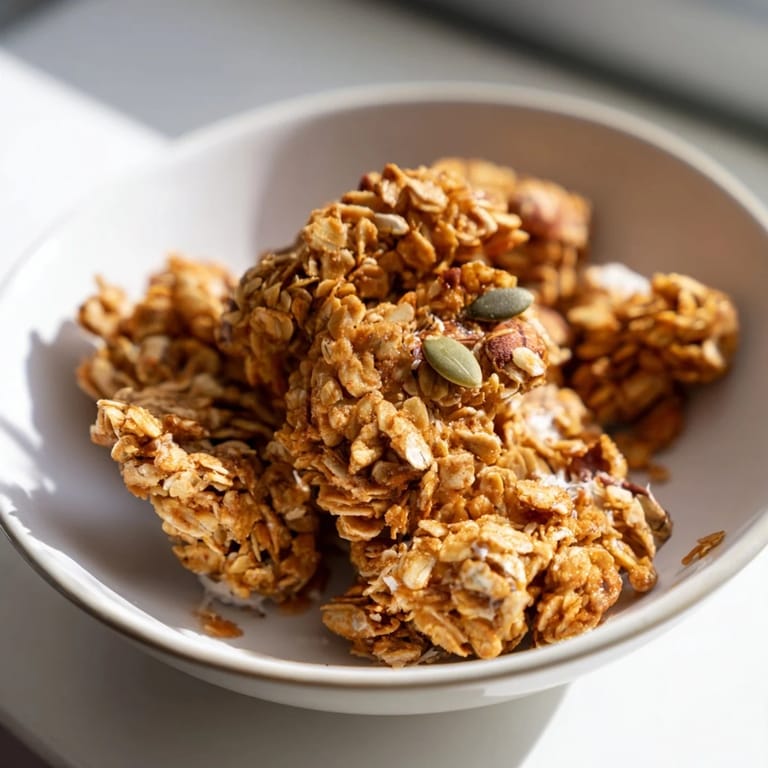
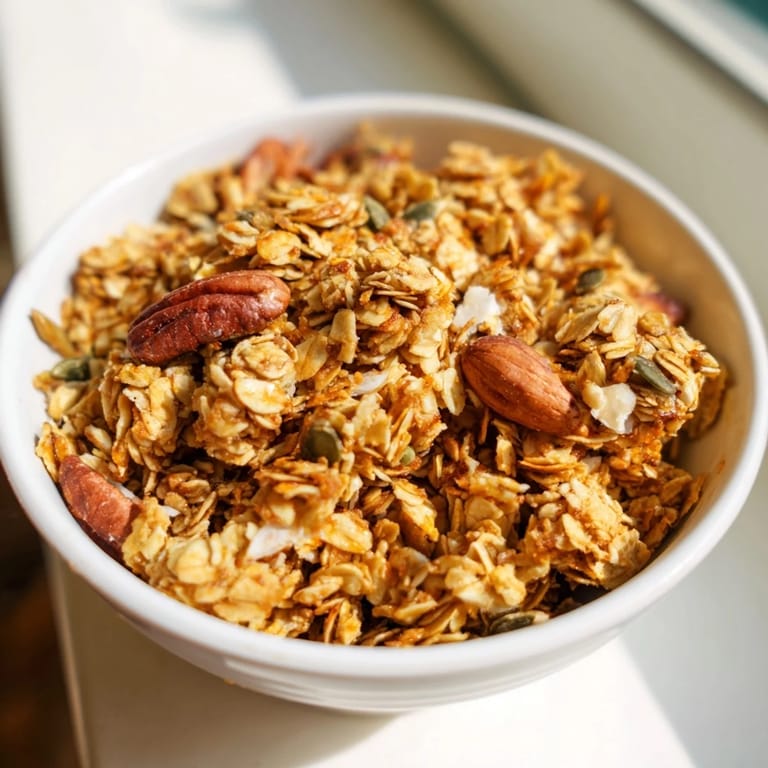
Save My kitchen smelled like burnt honey once when I tried to make granola on the stovetop—a mistake that led me to discover the magic of oven-baked clusters instead. Now, whenever I pull a golden tray from the oven, that warm, toasted aroma reminds me why this method works so beautifully. There's something deeply satisfying about breaking apart a baked sheet and finding perfect, crunchy clusters instead of uniform granola dust. This recipe came from that kitchen disaster, refined over mornings when I needed something more interesting than cereal but didn't have time for complicated prep.
I made a batch for my neighbor last winter when she was recovering from the flu, and she told me weeks later that she'd eaten it straight from the container while rewatching her favorite shows. That small moment—knowing granola I'd made was part of her comfort routine—changed how I think about cooking. It's not always about impressing people with technique; sometimes it's just about offering something warm and nourishing that tastes like someone cared enough to make it.
Ingredients
- Old-fashioned rolled oats (2 cups): These hold their texture better than quick oats and give you that satisfying bite that makes granola feel special.
- Mixed nuts (1 cup, coarsely chopped): Almonds, pecans, and walnuts each toast at slightly different rates, which is why mixing them creates interesting flavor depth.
- Unsweetened shredded coconut (½ cup, optional): If you use it, watch it closely during baking since it browns faster than everything else and can tip from golden to burnt quickly.
- Pumpkin or sunflower seeds (¼ cup): These add an earthy contrast to the sweetness and catch the heat beautifully in the oven.
- Ground cinnamon (½ tsp): Toast it with the oats and you'll taste the difference—it becomes almost spicy rather than just a background note.
- Fine sea salt (¼ tsp): This tiny amount does heavy lifting by making every other flavor pop without tasting salty.
- Honey (⅓ cup): The binding agent that creates clusters; use raw honey if you can, since it caramelizes beautifully in the oven.
- Melted coconut oil (¼ cup): This helps distribute the honey evenly and adds richness, but neutral oil works just as well if you don't want coconut flavor.
- Vanilla extract (1 tsp): A small amount that rounds out all the toasted flavors without announcing itself.
- Dried cranberries, raisins, or apricots (½ cup, added after baking): Adding these after baking keeps them chewy instead of hard; dried apricots add the most interesting tartness.
- Dark chocolate chips (⅓ cup, optional): Toss these in while the granola is still warm so they soften slightly into the clusters.
Tired of Takeout? 🥡
Get 10 meals you can make faster than delivery arrives. Seriously.
One email. No spam. Unsubscribe anytime.
Instructions
- Heat your oven and prep your space:
- Set the oven to 325°F and line your baking sheet with parchment paper—this is non-negotiable if you want clusters instead of a stuck-on mess. While the oven warms, gather your bowls and tools so you're not scrambling mid-recipe.
- Combine all the dry components:
- Toss oats, nuts, coconut, seeds, cinnamon, and salt into a large bowl and give everything a good stir to distribute the cinnamon evenly. You want the spice threaded throughout so every bite has warmth.
- Whisk the wet binder:
- In a separate bowl, whisk honey, melted coconut oil, and vanilla until they're smooth and combined. The oil helps the honey flow more easily when you pour it over the dry ingredients.
- Marry wet and dry:
- Pour the wet mixture over everything and stir until you see clumps forming—this usually takes about thirty seconds longer than you think it should. The mixture should look wet but not soupy, with little clusters already starting to hold together.
- Spread and press on the baking sheet:
- Transfer the mixture to your prepared sheet and spread it into an even layer about half an inch thick. Using a spatula or the back of a wooden spoon, gently press down to encourage the clusters to form and stay together during baking.
- Bake with a midway turn:
- Bake for 22 to 25 minutes, rotating the pan halfway through so it browns evenly. Start checking at 20 minutes—you want golden, fragrant granola, not dark or burnt edges.
- Cool completely before breaking:
- Remove the tray and let it sit undisturbed until completely cool; this is when the clusters actually set and firm up. If you try to break them while warm, they'll just crumble into pieces instead of staying in satisfying chunks.
- Break, mix, and store:
- Once cooled, break the granola into your preferred cluster size and stir in dried fruit or chocolate chips if you're using them. Store in an airtight container where it will stay crunchy for about two weeks, though it rarely lasts that long.
 Save
Save One morning, my daughter added a handful of this granola to her yogurt and declared it "restaurant-quality," which might be the most genuine compliment a seven-year-old can give. That's when I realized homemade granola isn't just about having a healthy breakfast option—it's about creating something that tastes intentional, something people notice and remember.
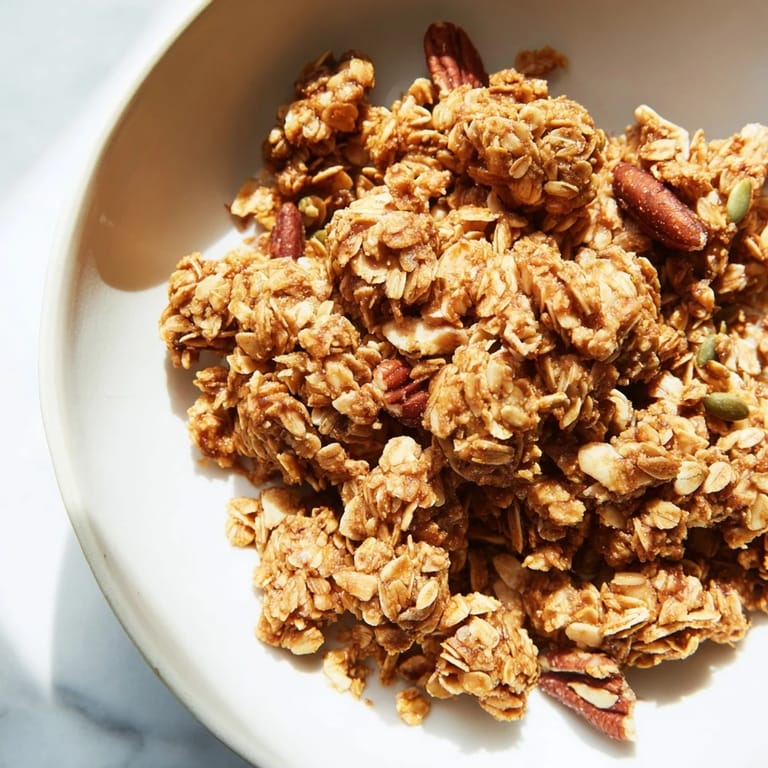
Why Clusters Matter
Most granola recipes yield dusty, individual pieces that sink into milk immediately, but clusters are different—they float for a moment, they crunch through multiple bites, and they actually taste like you made something special. The secret isn't complicated techniques; it's just understanding that less stirring while baking and patience during cooling creates the structure you're after. When you see that first cluster break cleanly from the sheet, you'll understand why this method became my default.
Customizing Your Mix
The beauty of homemade granola is that you're not locked into one flavor profile—I've made batches with pistachios and dried cherries, others with macadamia nuts and white chocolate, and versions with everything from cardamom to a pinch of cayenne. The ratio of oats to wet ingredients stays the same, but the add-ins are entirely yours to play with. This flexibility means you can match the granola to whatever fruit you're pairing it with or whatever you're craving that week.
Storage and Longevity
An airtight container is genuinely essential here—granola left open will go stale or absorb moisture within a day, but sealed properly, it stays crunchy for weeks. I keep mine in glass jars on the counter where I can see it, which somehow makes it more likely I'll actually eat it instead of just making it and forgetting about it. If you're feeling organized, doubling this recipe and storing one batch in the freezer means you always have fresh granola waiting.
- Mason jars with tight-sealing lids keep granola fresher longer than plastic containers.
- Add dried fruit and chocolate only to the portion you're eating if you're storing for longer than a few days, since they can draw out moisture.
- If granola ever loses its crunch, spread it back on a baking sheet and warm it at 250°F for 10 minutes to restore texture.
 Save
Save Homemade granola is one of those rare recipes where the effort is minimal but the payoff feels generous—you're creating something that tastes better than anything store-bought and costs a fraction of the price. Once you've made it once, you'll find yourself making it again and again, adding it to the rotation of things you just always have on hand.
Recipe FAQs
- → How do I prevent my granola from becoming too hard?
The key is to let the granola cool completely on the baking sheet without stirring. This allows the honey and oil to set properly, creating clusters rather than a solid block. Once fully cooled, break into bite-sized pieces gently.
- → Can I make this vegan?
Yes, simply replace honey with maple syrup in the wet ingredient mixture. All other ingredients are naturally plant-based, making this a fully vegan option.
- → What's the best way to store homemade granola?
Store cooled granola clusters in an airtight container at room temperature for up to two weeks. Keep dried fruits and chocolate chips separate if adding them after baking to maintain crispness.
- → Can I customize the nuts and seeds?
Absolutely. Feel free to swap almonds, pecans, and walnuts for your preferred varieties. Chia seeds, flax seeds, pumpkin seeds, and sunflower seeds all work well. Maintain the 1 cup total measurement for best results.
- → Why is my granola burning on the edges?
Rotating the baking sheet halfway through cooking helps ensure even browning. If burning persists, reduce oven temperature to 300°F and increase baking time by a few minutes. Every oven varies, so adjust accordingly.
- → Is this safe for people with nut allergies?
This contains tree nuts and may have cross-contamination risks. For nut-free versions, use only seeds and increase quantities accordingly. Always check all ingredient packaging for allergen warnings.