 Save
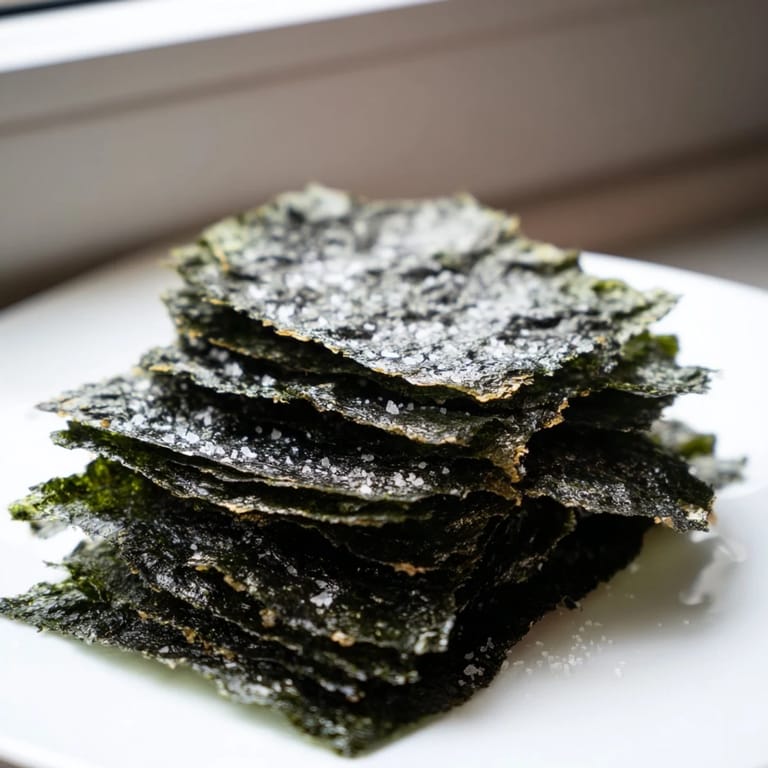
Save I discovered these seaweed chips by accident while reorganizing my pantry and finding a forgotten stack of nori sheets. Rather than use them for sushi, I wondered what would happen if I roasted them with just a whisper of oil and salt. Ten minutes later, I had these impossibly crispy, addictive little squares that tasted nothing like the seaweed I knew. My partner couldn't stop eating them straight from the cooling rack.
I made these for a casual afternoon gathering, and something unexpected happened, watching everyone reach for handful after handful, commenting on how light and salty they were. There's something about homemade seaweed chips that feels more special than store-bought versions, maybe because you've roasted them yourself and they're still warm.
Ingredients
- Dried nori sheets (sushi-grade): Six sheets gives you enough for satisfying snacking, and sushi-grade ensures clean flavor without any fishy undertones.
- Toasted sesame oil: This is where the magic happens, just two teaspoons spread across all the layers creates nutty depth that plain oil can't match.
- Fine sea salt: A quarter teaspoon might sound minimal, but it's precisely right for letting the seaweed shine without overwhelming it.
Tired of Takeout? 🥡
Get 10 meals you can make faster than delivery arrives. Seriously.
One email. No spam. Unsubscribe anytime.
Instructions
- Prepare your workspace:
- Preheat your oven to 300°F and line a baking sheet with parchment paper, creating a clean canvas for roasting. This temperature is gentle enough to crisp without burning.
- Layer and oil:
- Place one nori sheet shiny side down, brush lightly with sesame oil, sprinkle salt, then layer another sheet on top and repeat. You'll end up with three doubled pairs, each one getting its own touch of oil and salt.
- Cut into pieces:
- Using kitchen scissors or a sharp knife, cut each pair into 2-inch squares or strips, making them easy to handle and snack-sized. Don't worry about perfect uniformity, slightly irregular pieces actually look more appealing.
- Arrange and roast:
- Spread the pieces in a single layer without overlapping, then slide into the oven for 6 to 8 minutes, keeping a close eye on them. When they're dark green and making tiny crackling sounds, they're done.
- Cool and store:
- Let them rest completely on the baking sheet before transferring to an airtight container, where they'll stay crispy for several days. The cooling step is non-negotiable, as this is when they reach peak crunchiness.
 Save
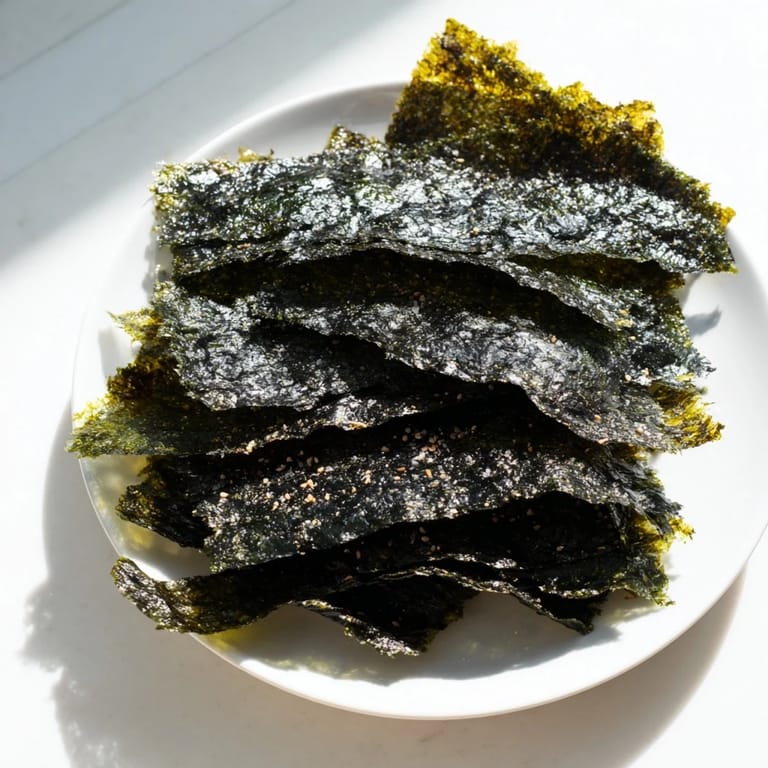
Save There was a moment when I realized these chips could transform simple meals, crumbling them over rice bowls or using them as a textural contrast in salads. It shifted how I thought about seaweed from just a sushi wrapper to a versatile ingredient.
The Oil Question
Sesame oil is ideal because its nutty character makes seaweed taste richer and more complex, but I've also made these with olive oil when sesame wasn't on hand and they were still lovely, just with a different flavor profile. The key is using something flavorful rather than bland vegetable oil, because at such minimal quantities, every drop matters.
Customizing Your Chips
Once you master the basic version, these chips become a playground for experimentation. I've tried everything from chili flakes to garlic powder to furikake, and each addition transforms them into something slightly different while keeping that essential crispiness intact.
Making Them Last
The biggest challenge with these chips isn't making them, it's keeping them around long enough to store. An airtight container is essential since humidity is seaweed's enemy, turning your crispy treasure into a chewy disappointment within hours.
- Always cool completely before storing, as residual warmth creates steam that softens them.
- If they do get a bit soft, a quick thirty-second toast in a dry pan restores the crispness.
- Make a double batch because they disappear faster than you'd expect.
 Save
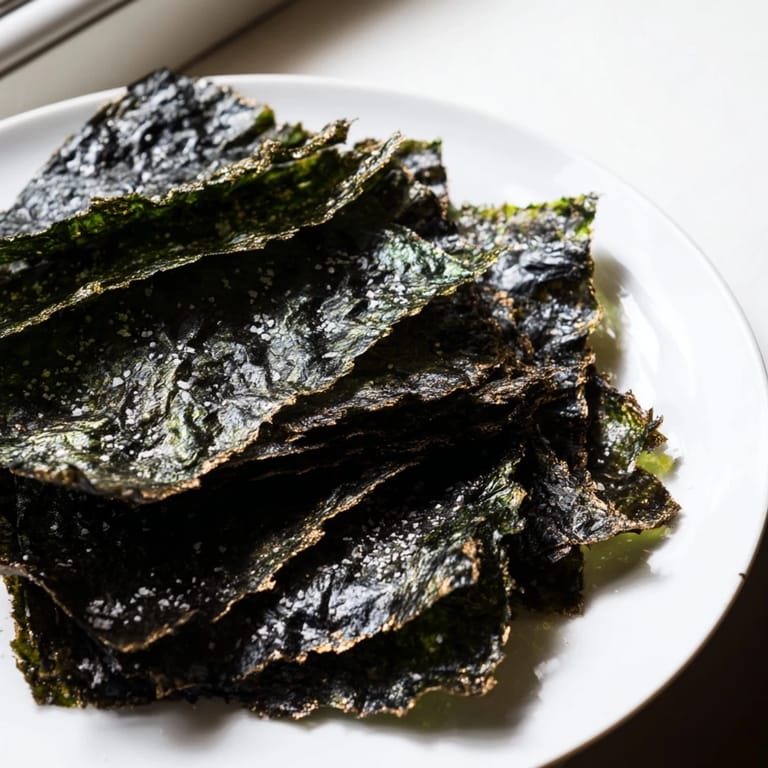
Save These seaweed chips remind me that the simplest ingredients often need the least fussing to become something special. Keep a few sheets of nori in your pantry and you're always minutes away from a snack that feels both nourishing and indulgent.
Recipe FAQs
- → How do I keep the seaweed chips crispy after cooking?
Store the cooled chips in an airtight container away from moisture. The key is letting them cool completely before storing to prevent condensation. They'll maintain their crispiness for several days when stored properly.
- → Can I use flavored seaweed instead of plain nori?
Yes, flavored seaweed works well, though it may affect the final taste. Check labels carefully for gluten if using flavored varieties, especially if you need to maintain a gluten-free diet.
- → What oil alternatives work best for this?
Toasted sesame oil provides authentic flavor, but neutral oils like vegetable or canola oil work equally well. Olive oil is also a good substitute if you prefer its taste profile.
- → How can I add more flavor to plain roasted seaweed?
Sprinkle chili flakes, garlic powder, or furikake seasoning on the nori before roasting. You can also experiment with nutritional yeast, white sesame seeds, or wasabi powder for different flavor variations.
- → Why is my seaweed burning during roasting?
Watch closely during the 6-8 minute roasting window as nori can burn quickly at higher temperatures. At 300°F, chips should turn dark green and crispy without blackening. Reduce heat or shorten cooking time if burning occurs.
- → Can this be made in a toaster oven?
Absolutely. Toaster ovens work great for this and often roast seaweed more evenly due to closer heating elements. Monitor carefully as toaster ovens may require slightly less cooking time.