 Save
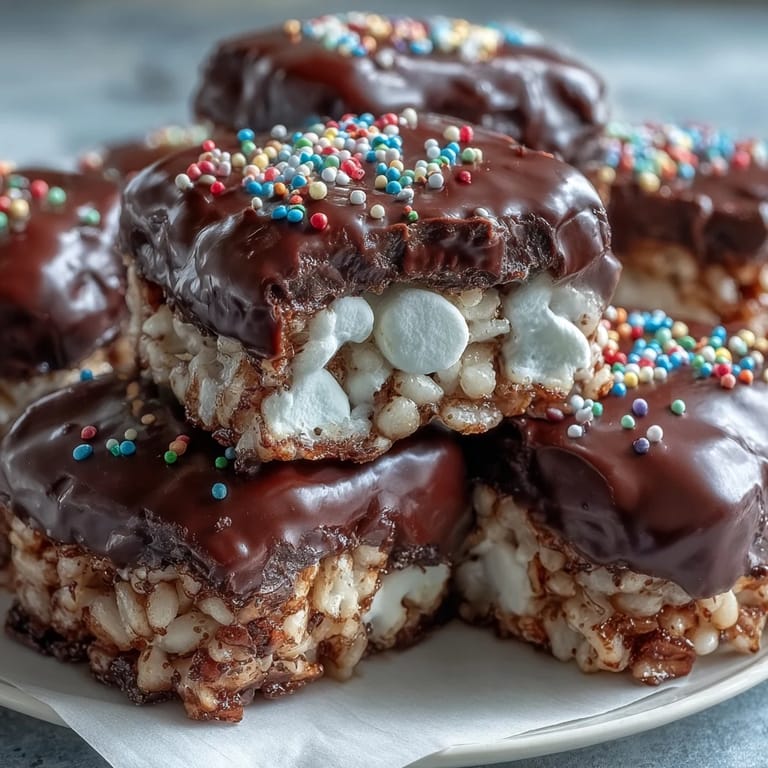
Save My neighbor brought over a pan of these last spring, and I honestly didn't expect much—until I bit through that snap of chocolate into the buttery crunch beneath. The balance was so satisfying that I asked for the recipe on the spot. She laughed and told me it was the easiest thing she'd made all month. I tried it myself the following weekend, and now it's my go-to whenever I need something impressive that doesn't require fancy skills or a long ingredient list.
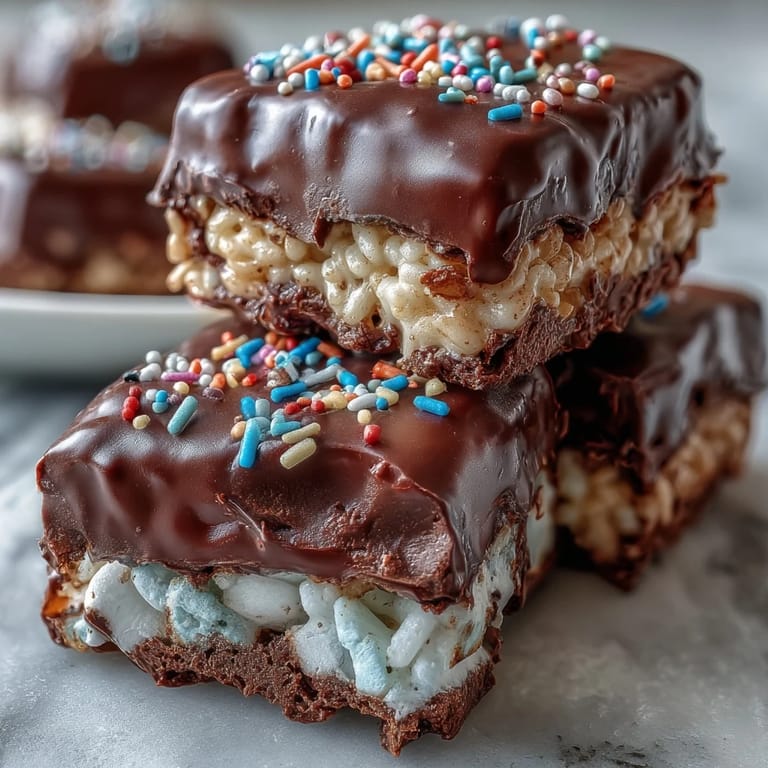
I made these for a book club gathering once, cutting them into neat squares and arranging them on a white platter. One friend who usually skips dessert ate three pieces and asked if I'd considered selling them. That comment stuck with me—not because I ever would, but because it reminded me how much joy a small, well-executed treat can bring to a room. The conversation that night felt warmer, sweeter, maybe even a little because of the chocolate and crunch we were all sharing.
Ingredients
- Unsalted butter: This creates the rich base that binds the marshmallows and adds a buttery undertone you'll taste in every bite—always grease your hands or spatula with a little extra to avoid sticky disasters.
- Mini marshmallows: They melt faster and more evenly than large ones, giving you a silky, uniform coating with less risk of scorching on the stovetop.
- Rice Krispies cereal: The classic snap and texture—make sure it's fresh so the cereal doesn't taste stale once coated.
- Fine sea salt: Just a pinch balances the sweetness and deepens the overall flavor without making the treats taste salty.
- Semisweet or dark chocolate chips: Choose based on how sweet you like your desserts—dark chocolate adds a sophisticated edge, while semisweet keeps things approachable.
- Vegetable oil or coconut oil: A teaspoon thins the melted chocolate just enough to spread smoothly and create that glossy, professional finish.
- Rainbow sprinkles or chopped nuts: Optional but fun—they add color, crunch, and personality to each square.
Tired of Takeout? 🥡
Get 10 meals you can make faster than delivery arrives. Seriously.
One email. No spam. Unsubscribe anytime.
Instructions
- Prep your pan:
- Grease your square pan generously with butter, getting into every corner. If you line it with parchment paper, leave a little overhang on two sides so you can lift the whole block out later for easier cutting.
- Melt the butter:
- Use low heat and stir constantly—butter can brown quickly, and you want it just melted, not toasted. The gentle approach keeps the base tender and sweet.
- Stir in the marshmallows:
- Add them all at once and keep stirring until the mixture is completely smooth and glossy. Any lumps now will mean uneven pockets in your finished bars.
- Season lightly:
- Remove the pan from heat and fold in the sea salt if you're using it. This small step makes a noticeable difference in flavor depth.
- Fold in the cereal:
- Work gently with a spatula to coat every piece without crushing the delicate Rice Krispies. The goal is even coverage, not a paste.
- Press into the pan:
- Transfer the mixture while it's still warm and press firmly with a buttered spatula or your dampened hands. An even layer ensures uniform bars and consistent texture.
- Let it rest briefly:
- Give the base about ten minutes at room temperature to set up just enough that it won't shift when you pour the chocolate. Don't skip this—it prevents the layers from mixing.
- Melt the chocolate:
- Combine chocolate chips and oil in a microwave-safe bowl, then heat in short bursts, stirring between each interval. Watch closely to avoid seizing or scorching.
- Pour and spread:
- Once the chocolate is smooth and glossy, pour it over the cooled base and use an offset spatula or spoon to spread it edge to edge. Work quickly before it starts to set.
- Add your garnish:
- Sprinkle on rainbow bits or chopped nuts right away while the chocolate is still wet. They'll stick beautifully and add visual appeal.
- Let it set completely:
- Leave the pan at room temperature for at least an hour, or refrigerate for twenty to thirty minutes if you're in a hurry. The chocolate needs to harden fully before cutting.
- Cut into bars:
- Use a sharp knife, wiping the blade between cuts for clean edges. Lift the block out using the parchment overhang if you lined the pan, or invert it onto a cutting board.
 Save
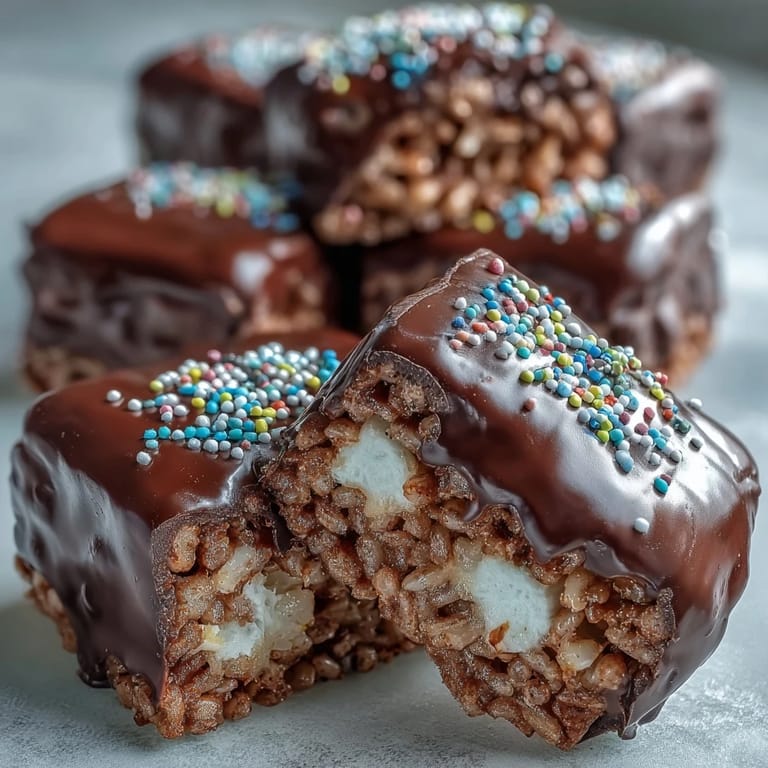
Save One evening, my nephew helped me make these, and he insisted on arranging every sprinkle by color. It took forever, and the chocolate started setting before we finished, but the pride on his face when we cut the first bar made the crooked stripes worth it. We ate two squares together at the kitchen counter, and he told me these were better than any candy bar he'd ever had. That's when I realized this recipe isn't just about the treat—it's about the ritual, the shared moment, the small victory of making something together.
Flavor Variations
Stirring half a teaspoon of vanilla extract into the melted marshmallows adds a warm, bakery-like aroma that fills your kitchen and deepens the overall sweetness. You can also swap semisweet chocolate for white chocolate and use pastel sprinkles for a springtime or Easter version that looks delicate and tastes surprisingly rich. If you want a grown-up twist, try dark chocolate with a pinch of flaky sea salt on top instead of sprinkles—it's elegant, a little salty-sweet, and perfect for dinner parties.
Storage and Freshness
These bars keep beautifully in an airtight container at room temperature for up to three days, staying crisp and chocolatey without any sogginess. If your kitchen is warm or humid, store them in the fridge for up to a week—they'll firm up a bit more, but the texture remains satisfying. I've learned that parchment or wax paper between layers prevents sticking if you need to stack them, and bringing them to room temperature for a few minutes before serving restores that perfect bite.
Serving Suggestions
I like cutting these into smaller, bite-sized squares for parties so guests can grab one without committing to a full bar—it also makes the batch go further. They look beautiful on a tiered stand alongside cookies and brownies, and the chocolate coating catches the light in a way that feels a little fancy. Pairing them with cold milk, hot coffee, or even a scoop of vanilla ice cream turns a simple snack into a dessert moment worth savoring.
- Wrap individual bars in clear cellophane and tie with ribbon for homemade gifts that feel personal and thoughtful.
- Serve them at kids' birthday parties alongside fruit skewers and popcorn for a nostalgic, crowd-pleasing spread.
- Keep a few in your freezer for emergencies—they thaw quickly and taste just as good as fresh.
 Save
Save These treats have a way of disappearing faster than you'd expect, so I always make a double batch now and hide half in the back of the fridge for myself. There's something deeply satisfying about that first crack of chocolate giving way to the soft, buttery crunch underneath—it's simple, it's joyful, and it never gets old.
Recipe FAQs
- → How long do these treats stay fresh?
Store in an airtight container at room temperature for up to 3 days, or refrigerate for up to a week. The chocolate may develop a slight bloom if chilled, but this won't affect taste.
- → Can I use different chocolate?
Absolutely. Semisweet, dark, milk chocolate, or even white chocolate work beautifully. Just keep the oil ratio consistent—about ½ teaspoon per cup of chips helps achieve that smooth, glossy finish.
- → Why add oil to the chocolate?
A small amount of vegetable or coconut oil thins the melted chocolate, making it easier to spread evenly. It also creates a smoother, glossier coating that sets beautifully without becoming too hard.
- → Can I make these ahead of time?
Yes, these are perfect for making ahead. Prepare up to 2 days in advance and store at room temperature. The flavors actually meld better after sitting for a few hours, making them even more delicious.
- → How do I prevent sticky hands when pressing the mixture?
Butter your spatula or hands lightly before pressing the cereal mixture into the pan. Alternatively, use a piece of parchment paper or wax paper to press down evenly without the mess.
- → Can I freeze these treats?
You can freeze them for up to 6 weeks. Wrap individual bars in plastic wrap, then place in a freezer-safe container. Thaw at room temperature for about 30 minutes before serving.